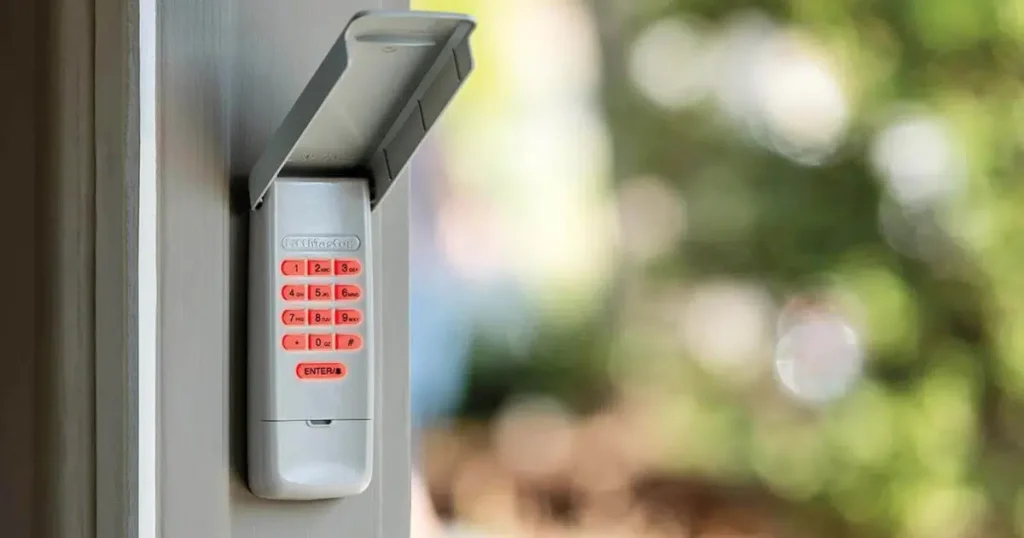
A garage door keypad makes it easy to get in and out of your garage without carrying a remote or fumbling for a key. When it suddenly stops responding, it can throw off your entire day and leave you locked out of your own home.
Most of the time, the fix is simpler than it looks. A dead battery, a lost program, or a dirty button is behind the majority of keypad failures. But sometimes the issue points to something deeper, like a signal problem, a faulty receiver, or a keypad that has simply worn out after years of outdoor use.
This troubleshooting checklist walks you through every common cause of a garage door keypad not working, starting with the quickest fixes first. Whether your garage door opener keypad is not working at all, blinking without opening the door, or failing only after a battery change, you will find the answer here before needing to call a professional.
Why Does a Garage Door Keypad Stop Responding?
A garage door keypad stops responding when something interrupts the connection between the keypad and the opener. That interruption can happen at the power level, the signal level, or inside the keypad itself.
Common reasons a keypad stops working include:
- Dead or weak batteries that prevent the keypad from sending a signal
- Worn buttons that fail to register the digits pressed
- Signal interference affecting communication with the opener
- Programming errors that disconnect the keypad from the system
- An incorrect or expired entry code causing the garage door code not to work
- Environmental exposure that damages keypad electronics
- Intermittent contact faults causing the keypad to work inconsistently
In some cases, both the garage door remote and keypad stop working at the same time. When this happens, the problem is usually with the opener itself rather than either control device. A tripped circuit breaker, a power outage, or a faulty receiver can disable all control devices simultaneously.
A full breakdown of what causes garage door keypad problems covers the most common mechanical, programming, and communication issues in detail.
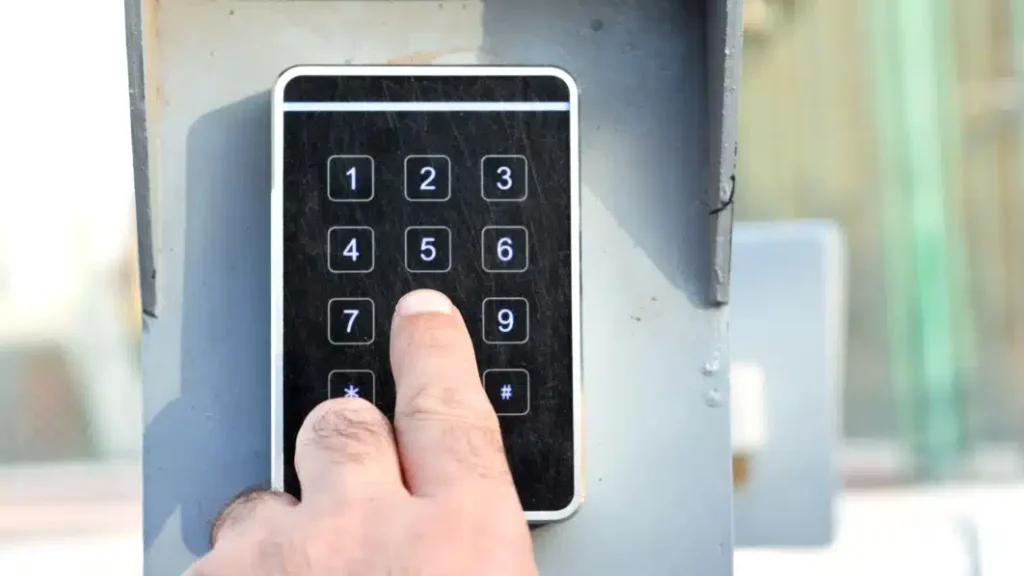
Understanding Wireless Garage Door Keypad Understanding Wireless Garage Door Keypad Systems
A wireless garage door keypad works by sending a radio signal to the opener receiver each time you enter the correct code. Understanding how this communication works makes it easier to identify where the problem is when something goes wrong.
Here is how the system operates:
- The keypad acts as a transmitter, sending a coded signal to the opener when the correct digits are entered
- The opener receiver verifies the signal before activating the garage door
- Rolling code technology changes the signal after each use to reduce the risk of unauthorized access
- Battery power allows the keypad to operate independently from the opener wiring
- Signal strength and mounting position can influence how reliably the keypad communicates with the opener
Because keypads are part of the wider automatic opener system, the International Code Council requires that garage door openers and related access devices comply with safety provisions in residential building codes.
Garage Door Keypad Compatibility With Different Opener Brands
Different garage door opener systems use unique communication signals and pairing methods. Using a keypad that is not designed for your opener brand is one of the most common reasons a garage door opener keypad stops working after installation or replacement.
| Opener Brand | Keypad Compatibility | Key Programming Features | Notes |
| LiftMaster | Compatible with LiftMaster keypads and many universal models | Uses a learn button system for syncing a new code | Many models support rolling code technology for keyless entry |
| Chamberlain | Often compatible with LiftMaster keypads due to shared technology | Programming typically uses the same learn button pairing process | Works with many universal keyless entry devices |
| Genie | Requires Genie-compatible or universal keypad models | Programming involves entering the garage door opener code during setup | Some models use different frequency systems than LiftMaster |
| Craftsman | Compatible with certain universal garage keypad models | Uses similar pairing methods through the opener learn button | Older models may require keypad models designed for legacy systems |
| Linear | Requires Linear-compatible or universal keypad models | Programming uses a similar learn button pairing process | Older Linear systems may use different frequencies |
| Precision | Compatible with most universal keypad models | Programming typically follows standard learn button pairing | Check model compatibility before purchasing a replacement keypad |
| Universal Keypads | Designed to work with multiple brands | Setup may require entering brand-specific programming sequences | Often used when replacing older or discontinued keypads |
Choosing a keypad designed for the correct opener brand is the simplest way to avoid compatibility problems. If your linear garage door opener keypad is not working or your precision garage door keypad stopped responding after a replacement, a compatibility mismatch between the keypad and opener is usually the first thing to check.
Garage Door Remote and Keypad Not Working
If both the remote control and keypad stop working at the same time, the problem is almost certainly with the garage door opener itself rather than either control device. When no wireless device can activate the opener, the issue is usually one of the following.
The first thing to check is whether the opener has power. A tripped circuit breaker, a loose power cable, or a power outage in your area will disable the opener completely and make every control device appear faulty when the opener itself is simply not receiving electricity.
If the opener has power, press the wall button inside the garage. If the wall button operates the door normally while both the remote and keypad fail, the opener receiver is likely the problem. The receiver is the component inside the opener that picks up wireless signals from remotes and keypads. A faulty or damaged receiver will stop all wireless devices from working simultaneously while the hardwired wall button continues to function.
If nothing works, including the wall button, the opener motor or control board may have failed and will need professional inspection.
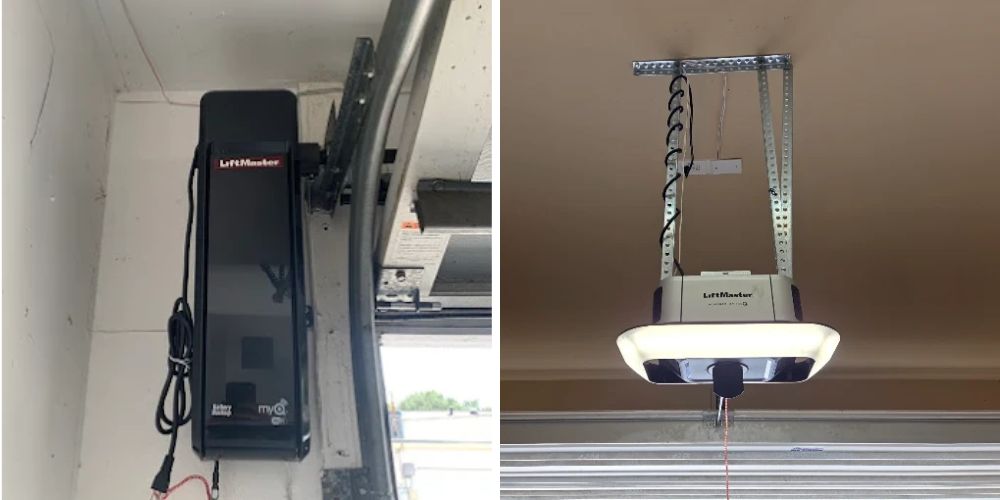
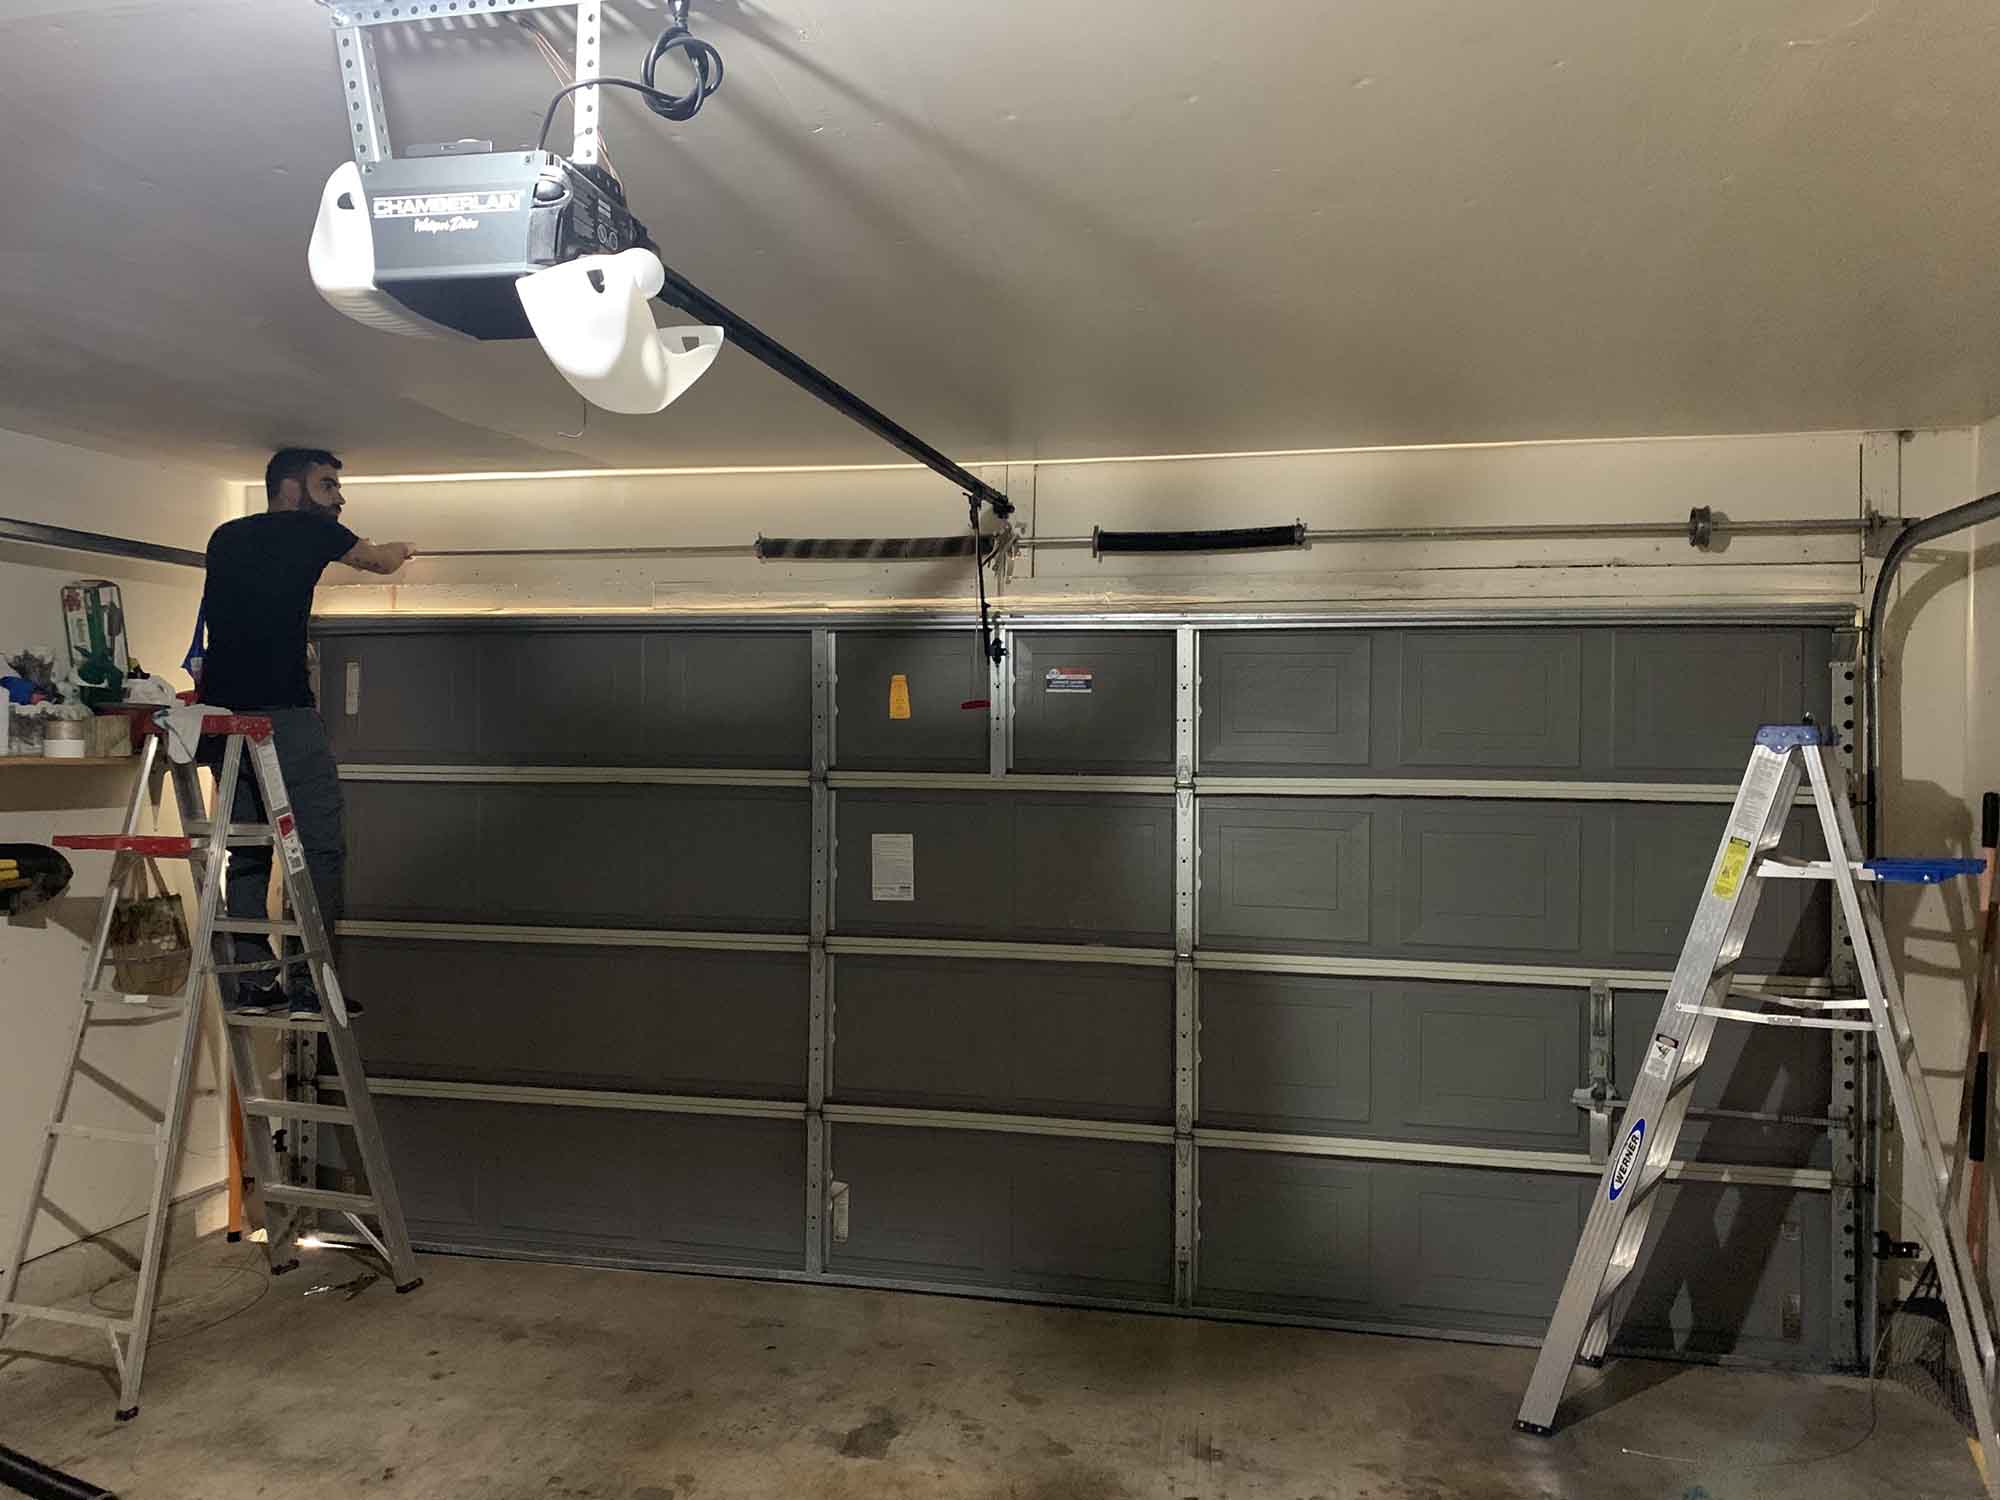
One other common cause is the antenna wire inside the opener hanging incorrectly. The antenna should hang straight down from the motor unit. If it is coiled, tucked away, or damaged, signal reception drops significantly and can cause both the remote and keypad to fail at the same time even when the opener itself is functioning normally.
LiftMaster Keypad Not Working
LiftMaster is one of the most widely used garage door opener brands in San Antonio, and keypad problems on LiftMaster systems are among the most common issues homeowners run into. In most cases, the fix comes down to one of three things: a lost program, Lock Mode being active on the wall panel, or a battery that wiped the stored code when it died.
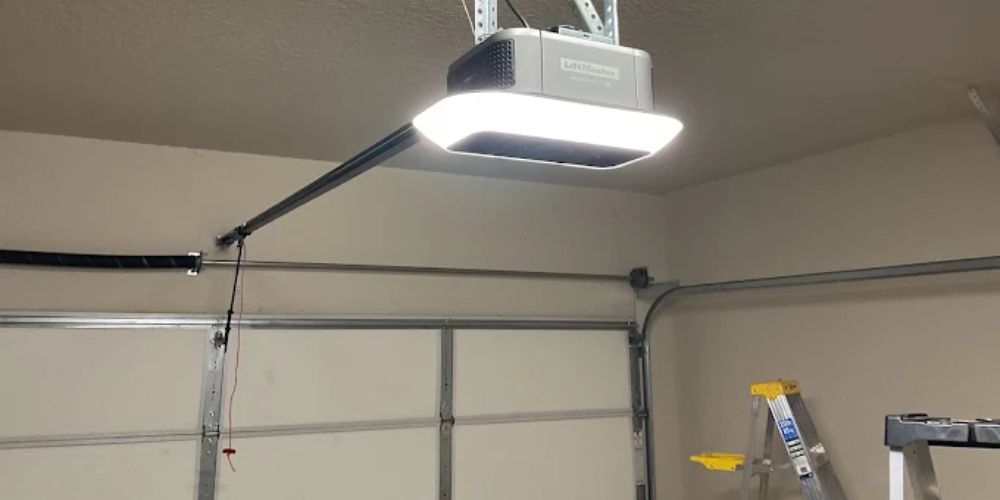
To fix a LiftMaster keypad that is not responding, start by locating the learn button on the opener motor unit. On most LiftMaster models, it is on the back or side of the motor housing and is either yellow, purple, or orange depending on the model. Press the learn button once, then enter your desired code on the keypad within 30 seconds. The opener light will flash to confirm the new code has been accepted. Test the keypad several times to confirm it is working consistently.
If the LiftMaster keypad lights up when you press buttons but the door does not open, check whether Lock Mode is active on the wall panel. Press and hold the lock button on the wall control for a few seconds to disable it, then test the keypad again.
If the keypad blinks rapidly after code entry but the door still does not move, the opener receiver may not be recognising the signal. This usually means a full reset is needed. Detailed reset steps for LiftMaster openers are covered in the LiftMaster garage door opener troubleshooting.
For homeowners who need step-by-step keypad programming instructions specific to their LiftMaster model, the LiftMaster keypad programming walkthrough covers every current model in use across San Antonio.
Chamberlain Keypad Not Working
Chamberlain and LiftMaster keypads use the same learn button programming system because both brands are owned by the same parent company and share the same signal technology. If your Chamberlain keypad is not working, the troubleshooting steps are nearly identical to LiftMaster.
Start by pressing the learn button on the Chamberlain opener motor unit. Enter your desired code on the keypad within 30 seconds and wait for the opener light to flash or click, confirming the code has been stored. Test the keypad several times after programming to confirm it operates the door consistently.
If the keypad responds but the door does not open, check whether Lock Mode is active on the wall panel. Press and hold the lock button for a few seconds to disable it and test the keypad again.
One issue specific to Chamberlain systems is myQ connectivity. If your opener is connected to the Chamberlain myQ app and the keypad code was recently changed, the app and keypad can fall out of sync. This causes the keypad to fail even when the opener itself works normally from the wall button or remote. Disconnecting and reconnecting the myQ app after a keypad reset usually resolves this without any hardware changes.
If the Chamberlain keypad continues failing after reprogramming, check whether the antenna wire is hanging straight down from the motor unit. A coiled or damaged antenna significantly reduces signal range and can prevent the keypad from communicating with the opener even from a short distance.
Overhead Door Keypad Not Working
Overhead Door keypads use a different programming system from LiftMaster and Chamberlain, which means the standard learn button steps do not apply. If your overhead door keypad is not working, the first thing to confirm is whether your opener uses CodeDodger or CodeDodger 2 technology since the programming steps differ slightly between the two systems.
Unlike LiftMaster and Chamberlain openers, which have an external learn button, Overhead Door openers use a program button located inside the opener housing. To reprogram the keypad, open the light cover on the motor unit to access the program button. Press the program button once, enter your desired code on the keypad, then press the program button a second time to save it. The opener light will confirm the code has been stored.
If the overhead garage door keypad is still not working after reprogramming, check the battery type. Overhead Door keypads commonly require a specific battery size that differs from LiftMaster and Chamberlain models. Using the wrong battery type can cause intermittent operation or no response at all even when the battery appears fresh. Check the battery compartment label to confirm the correct size before replacing it.
If the keypad continues failing after confirming the correct battery and completing the reprogramming steps, the keypad antenna or receiver inside the opener may need professional inspection. Signal range issues are more common on older Overhead Door systems because the receiver technology in earlier models is more sensitive to interference than newer units.
Garage Door Keypad Troubleshooting Checklist
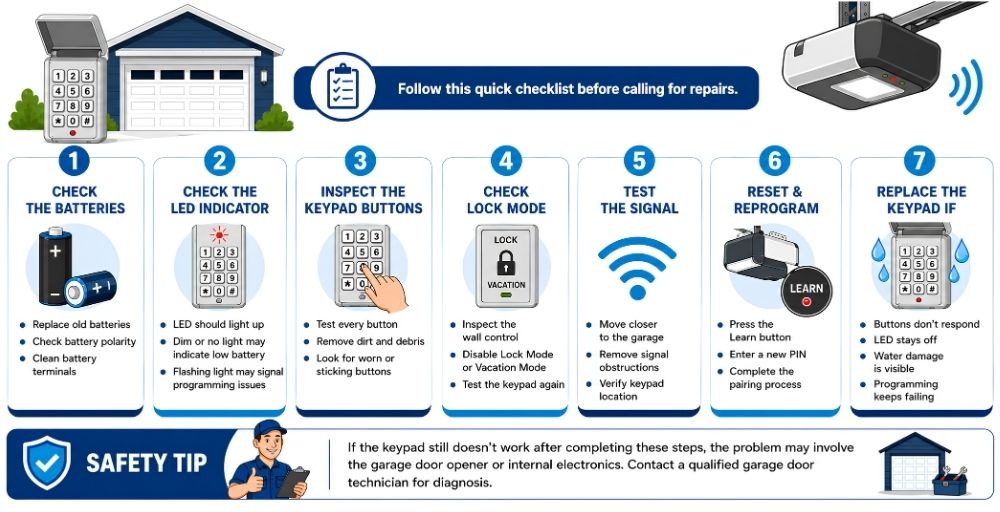
Before working through each step, take a moment to notice exactly what the keypad is doing. Different symptoms point to different problems and can save a lot of troubleshooting time.
If the keypad is completely dead with no lights and no response to any button, the problem is almost always a power issue. Start with the battery.
If the keypad lights up or blinks when you press buttons but the garage door does not open, the keypad has power but is either not sending the correct signal or the opener is not receiving it. This points to a programming error, Lock Mode, or a receiver fault.
If the keypad works sometimes but not others, the issue is likely a weak battery, marginal signal range, or worn button contacts causing intermittent connection.
If specific buttons work but others do not, dirt or physical wear on individual button contacts is the cause. Clean the keypad thoroughly before considering a replacement.
Check the Batteries First
Low battery power is one of the most common reasons a garage door keypad fails to transmit a signal to the opener. Most garage door keypads use a single 9-volt battery, though some older models use AA batteries. Check the battery compartment label to confirm the correct type before purchasing a replacement.
Remove the keypad cover and replace the old battery with a fresh one. Confirm the battery follows the correct polarity markings. Inspect the battery terminals for corrosion or residue and clean the contacts gently with a dry cloth or soft brush before inserting the new battery. Test the keypad again after installation.
If the keypad remains unresponsive after installing a fresh battery, remove the back cover and inspect the internal connections. Check that the battery terminal contacts are clean and that any wires connecting the buttons to the circuit board are securely attached. Loose or corroded connections can prevent the keypad from functioning even with a new battery installed.
Garage Door Keypad Not Working After Changing Battery
If the garage door keypad is still not working after a battery replacement, the most likely cause is lost programming rather than a faulty keypad. On many opener systems, removing the battery completely erases the stored entry code from the keypad memory. This means the keypad needs to be reprogrammed to the opener even though the hardware itself is fine.
To fix this, press the learn button on the opener motor unit and enter your code on the keypad within 30 seconds. Wait for the opener light to flash or click, confirming the new code has been stored. Test the keypad several times to confirm it is working correctly.
LiftMaster and Chamberlain keypads are particularly known for losing their program after battery removal. If reprogramming does not resolve the issue, the keypad memory may be damaged, and replacement is the most reliable solution.
Inspect the Keypad Buttons for Wear or Damage
Worn buttons or debris around the keypad can prevent it from registering the digits entered during code entry.
Press each button individually to confirm it registers properly. Clean any grime or debris trapped around the digits using a soft brush or dry cloth. Pay close attention to the buttons in your PIN code since those are pressed most often and wear out fastest.
A quick way to test whether specific buttons are faulty is to enter a completely random four-digit code. If the keypad responds to the random code but not your usual PIN, the problem is with the specific buttons in your code rather than the keypad itself.
Continued input failure after cleaning and testing the buttons often points to worn contacts that need garage door keypad repair.
Confirm the Keypad Is Within Signal Range
Reliable operation depends on the keypad sending a signal strong enough for the opener receiver to detect.
Step closer to the garage door and enter the code to test whether distance is affecting the signal. Reposition the keypad if it is mounted far from the opener. Move any nearby metal objects that may be blocking the signal. Weak batteries also reduce transmission strength even if the keypad still lights up, so replace them if in doubt.
Look for Lock Mode or Security Mode Activation
Many garage door opener systems have a security lock feature that temporarily disables outside keypads and remotes to prevent unauthorised access. This mode is sometimes activated accidentally.
Check the wall console inside the garage for a lock indicator light or padlock symbol. Press and hold the lock button for a few seconds to disable it, then test the keypad again. If the door responds normally afterward, Lock Mode was the only problem.
Check the Opener Connection and Receiver
Communication problems between the keypad and the opener receiver can prevent the system from responding even when the keypad itself is working.
Confirm the opener has electrical power. Press the learn button to verify the receiver is active. Reprogram the keypad using the opener pairing sequence and test with another remote control to determine whether the keypad or the opener receiver is the source of the fault.
Federal safety standards for automatic residential garage door operators outline how opener systems and control devices, including keypads and remotes, must function during normal operation.
Inspect for Weather or Moisture Damage
Outdoor keypads exposed to rain, humidity, or temperature changes can develop internal faults that affect signal transmission.
Open the keypad cover and look for moisture, condensation, or corrosion inside the housing. Dry any internal parts carefully and check for cracks that may be allowing water to enter. Clean dust and debris from the keypad surface and test operation after the unit is fully dry.
In San Antonio, summer temperatures regularly exceed 100 degrees Fahrenheit, which can cause keypad button membranes to warp, stick, or lose conductivity. If your keypad works in the morning but becomes unresponsive by midday, heat damage to the button membrane is likely the cause rather than a battery or programming issue.
Visible moisture or corrosion inside the keypad housing can interfere with signal transmission and may require garage door repair if the internal electronics are damaged.
Garage Door Keypad Blinking and Won’t Open
A keypad that blinks when you press buttons but does not open the door is not completely failing. It is communicating a specific fault.
Rapid continuous blinking usually means the battery is critically low and the keypad cannot send a strong enough signal to reach the opener receiver. Replace the battery first before anything else.
A single slow blink each time you press a button means the keypad is sending a signal but the opener is not responding. This usually points to a lost program, a receiver fault, or Lock Mode being active on the wall panel.
No light at all when pressing buttons means the battery is completely dead or there is an internal power fault inside the keypad.
On LiftMaster systems specifically, a keypad that blinks 10 times after code entry is reflecting the opener’s sensor fault code. In that case, the problem is with the safety sensors rather than the keypad itself.
Test the Opener With Another Remote
Testing the opener with a different control device confirms whether the problem is with the keypad specifically or with the opener itself.
Try opening the door with a handheld remote control. Press the wall-mounted button inside the garage. If both the remote and wall button work normally while the keypad does not, the keypad is the source of the fault. If nothing works, the opener receiver or power supply is the problem.
Normal operation from other control devices while the keypad remains inactive can point to issues with the garage door remote control system or the keypad receiver channel specifically.
Reset the Keypad to Restore Default Settings
Resetting the keypad clears stored programming errors and reconnects it to the opener system.
Press the opener learn button to begin programming mode. Enter a new code on the keypad during the pairing window. Wait for confirmation lights or a click from the opener, then test the keypad several times to confirm consistent operation.
Detailed reset instructions for each opener brand are covered in the garage door keypad reset walkthrough for San Antonio homeowners.
Garage Door Keypad Programming and Reprogramming Basics
Programming is what connects the keypad to the opener so the system recognises the code you enter. If the keypad has never been set up on your opener, was recently reset, or lost its program after a battery change, it needs to be paired again before it will work.
- The basic process works the same way across most opener brands:
- Press the learn button on the opener motor unit to activate pairing mode
- Enter a new code on the keypad during the programming window, which usually lasts around 30 seconds
- Wait for a confirmation signal from the opener, such as a light flash or an audible click
- Test the keypad several times to confirm the opener responds consistently
- Follow the manufacturer’s instructions for your specific opener model since steps can vary slightly between brands
One important thing to know is that the programming window closes automatically after 30 seconds on most systems. If the keypad does not respond after entering the code, the window may have expired, and you will need to press the learn button again to restart the process.
Full step-by-step reprogramming instructions for each opener brand are covered in the garage door keypad reset walkthrough for San Antonio homeowners.
Signs You May Need a Garage Door Keypad Replacement
Most garage door keypads last between 8 and 10 years under normal use. Keypads mounted outdoors in harsh conditions, exposed to heavy rain, extreme heat, or direct sunlight, may fail sooner. If your keypad is approaching or past this age and problems keep coming back after troubleshooting, replacement is usually the more reliable option.
- Common signs that a keypad needs replacing rather than repairing:
- Buttons no longer register the digits entered even after cleaning
- Keypad programming keeps failing even after multiple reset attempts
- Moisture damage or corrosion is visible inside the keypad housing
- Signal transmission problems continue despite installing fresh batteries
- The keypad is not compatible with a newer opener after a system upgrade
If any of these apply after working through the troubleshooting checklist, the keypad electronics are likely failing. A new keypad is straightforward to install and program, and restores reliable keyless access without the frustration of repeated failures.
Professional Garage Door Keypad Troubleshooting and Repair
Some keypad problems go beyond what basic troubleshooting can fix. If the issue involves opener electronics, signal communication faults, or internal wiring, a trained technician can diagnose and resolve the problem more accurately than trial and error at home.
Service technicians typically handle tasks such as:
- Diagnosing signal communication between the keypad and the opener receiver
- Inspecting control boards and electrical components inside the opener system
- Reprogramming the keypad and updating the opener code after component repairs
- Installing a compatible replacement keypad when the existing unit has failed
- Testing the opener and keypad together to confirm consistent keyless access
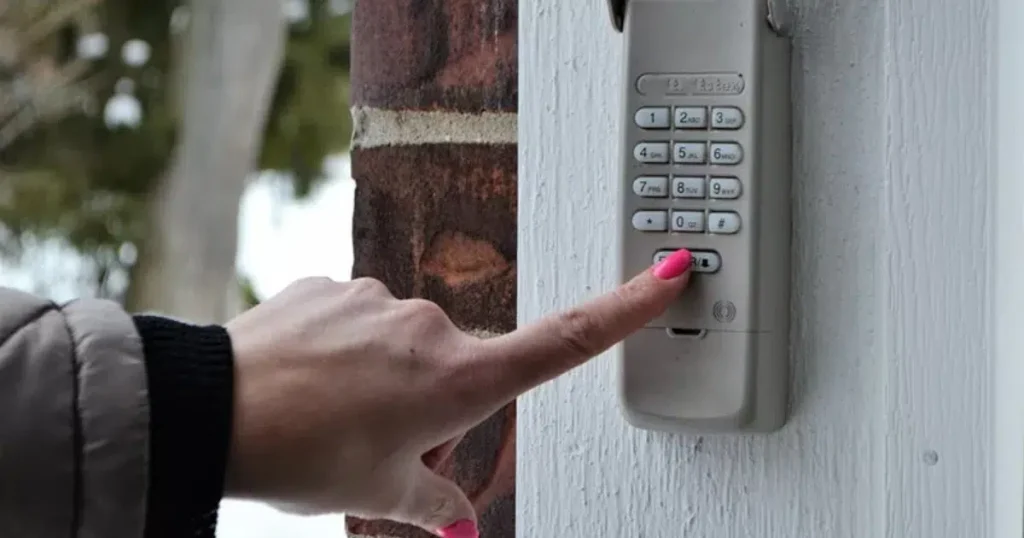
If your keypad continues failing after working through every step in this checklist, the problem likely needs professional attention.
Conclusion
A garage door keypad that stops working is frustrating, but most problems come down to a dead battery, a lost program, a dirty button, or a signal issue that can be resolved without replacing the unit. Working through the checklist systematically saves time and usually identifies the cause before any parts need to be ordered.
If the keypad continues failing after trying every step, the electronics may be worn out, or the opener receiver may need professional attention. A technician can confirm whether a simple repair or a full keypad replacement is the right solution.
For homeowners in San Antonio dealing with a keypad that still will not respond, garage door keypad repair is available the same day by calling (210) 997-7777.
Frequently Asked Questions
What are the main differences between wireless and wired garage door keypads?
Wireless keypads send a radio signal to the opener receiver each time you enter a code, while wired models connect directly to the opener through physical wiring. Most modern systems use wireless keypads because they are easier to install and can be mounted anywhere outside the garage without running cables.
Why is my garage door keypad not working even after changing the battery?
Battery replacement alone may not fix the issue if the keypad lost its programming when the old battery was removed. Many opener systems erase the stored code when the battery dies completely. Reprogram the keypad to the opener after installing the new battery to restore normal operation. If reprogramming does not help, worn buttons, signal interference, or a receiver fault may be the cause.
Why is my garage door keypad blinking and won't open?
A blinking keypad usually means the device has power but is not successfully communicating with the opener. Rapid blinking typically points to a low battery that cannot send a strong enough signal. A single slow blink after code entry usually means the opener is not recognising the signal, which points to a lost program or Lock Mode being active. No light at all means the battery is dead or there is an internal power fault.
How can I reset my garage door keypad if I forgot the code?
Press the learn button on the opener to erase the existing code and activate programming mode. Enter a new code on the keypad within 30 seconds and wait for the opener to confirm the new code has been stored. The previous code is permanently erased once the new one is saved.
Which garage door keypads are compatible with LiftMaster and Chamberlain openers?
LiftMaster and Chamberlain keypads are often interchangeable because both brands share the same parent company, signal technology, and learn button pairing system. Many universal keypads also work with both brands. Compatibility depends on whether the opener supports rolling code technology, which most models made after 1996 do.
Why is my overhead door keypad not working?
Overhead Door keypads use a different programming system from LiftMaster and Chamberlain. The program button is located inside the opener housing rather than on the outside. Press the program button, enter your code on the keypad, then press the program button again to save it. If the keypad still does not respond, check the battery type since Overhead Door keypads often require a different battery size than other brands.
Are universal garage door keypads reliable for most brands?
Yes, universal keypads work reliably with most modern opener brands by supporting multiple signal frequencies and programming sequences. Compatibility still depends on the age of the opener and whether it supports rolling code technology. Very old openers using fixed code systems may not be compatible with universal keypads.
What steps should I follow to replace a faulty garage door keypad?
Remove the old keypad from its mounting bracket, install the new unit in the same position, insert the correct battery, and program the new keypad to the opener using the learn button pairing process. Test the door several times after programming to confirm the new keypad is working correctly.
Can I install a garage door keypad myself?
Yes, most homeowners can install a keypad using basic mounting hardware and the programming steps in the opener manual. If the keypad will not pair correctly after installation or you are unsure about compatibility with your opener model, a professional can complete the setup quickly.
What common problems cause a garage door keypad to malfunction?
Dead batteries, worn keypad buttons, signal interference, programming errors, Lock Mode activation, and environmental damage are the most common causes. Internal electronic faults and compatibility issues with older opener systems can also prevent the keypad from transmitting the correct signal to the opener receiver.
How secure are wireless garage door keypads against hacking?
Modern wireless keypads use rolling code technology that generates a new transmission code after every use. This prevents signal interception because the code captured during one use will not work again. Older fixed-code keypads do not have this protection and are more vulnerable to code-grabbing devices.