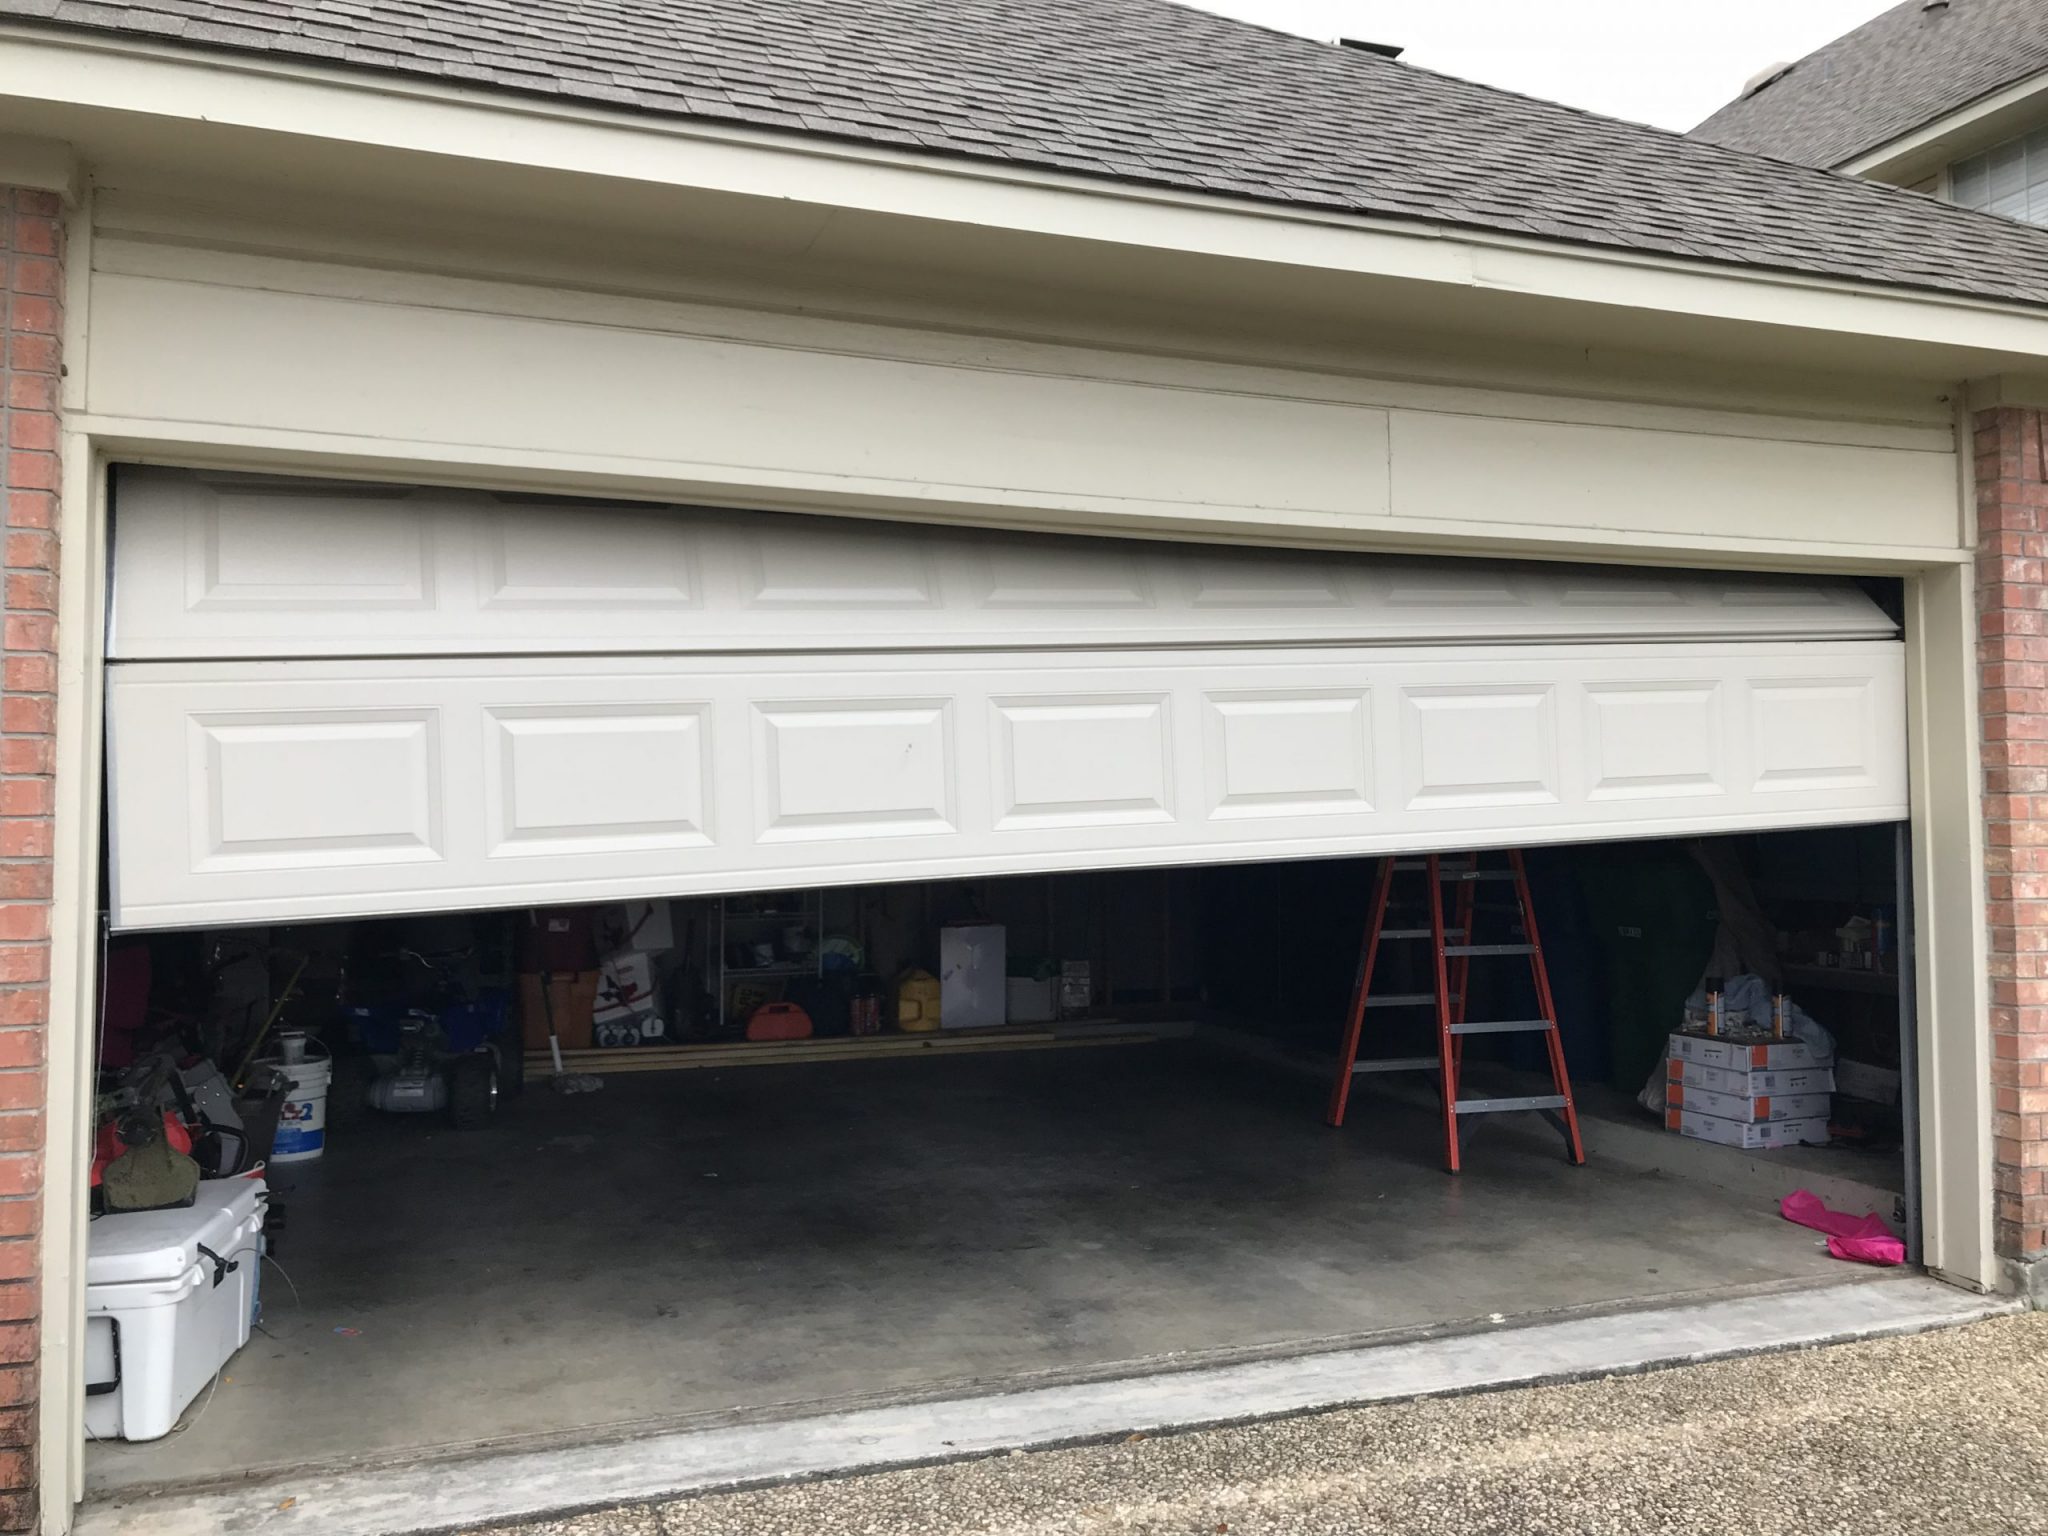
A reset can clear confusing settings on a LiftMaster garage door opener after a power flicker, storm, or control mix-up. The part that catches many homeowners off guard is that the opener may also clear its memory, so the wall button still works while the remote suddenly does not.
That usually does not mean anything failed. It simply means the remote is no longer paired, and reprogramming restores normal control. With the right sequence and timing, you can get a reliable response back quickly and avoid the common missteps that make pairing feel harder than it is.
Quick Checklist Before You Reprogram
Before you start pairing, make sure a few basics are in place. These small items can make it seem like programming failed when the real issue is power, lock mode, signal interference, or a weak battery.
Run this list:
- Opener has power
- Opener lights on
- The wall button works
- Lock mode off
- Remote battery fresh
- Stand close to the opener
- Antenna hangs down
If the wall button does not run the door, programming a remote will not help yet. That points to a power, sensor, or door problem. If the opener is still acting strange even after the reset, read How to Reset a LiftMaster Garage Door Opener (Step-by-Step).
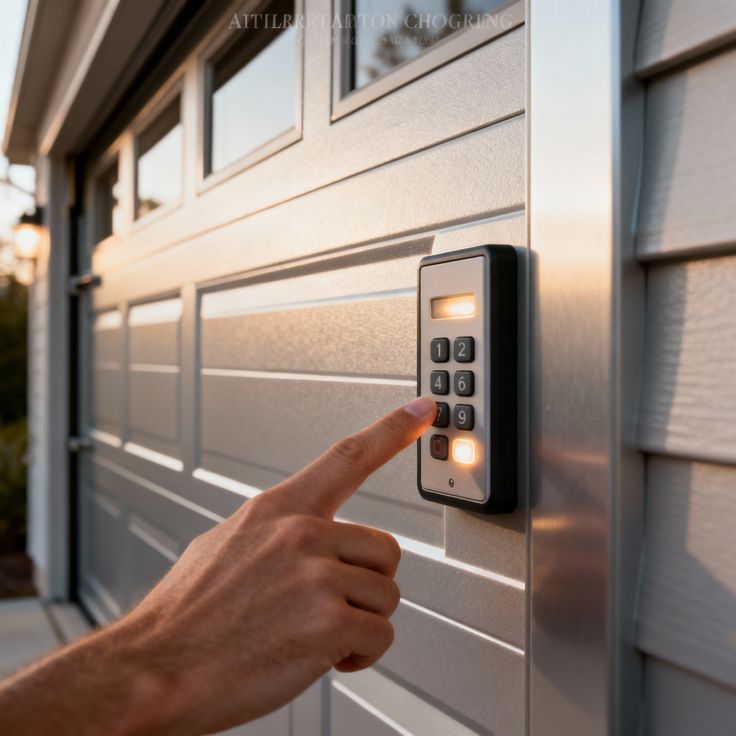
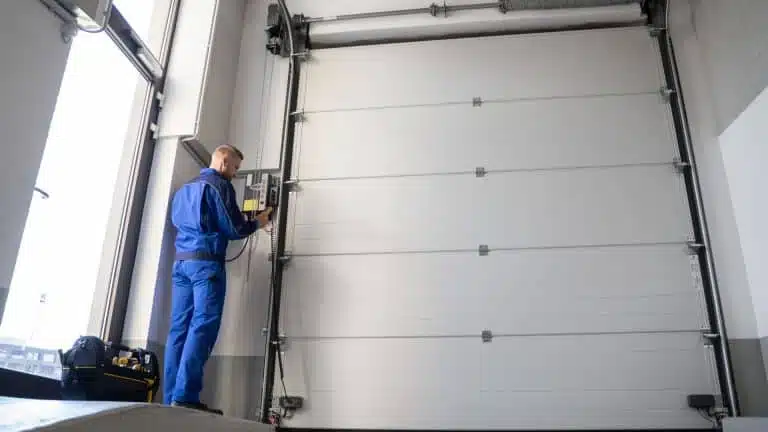
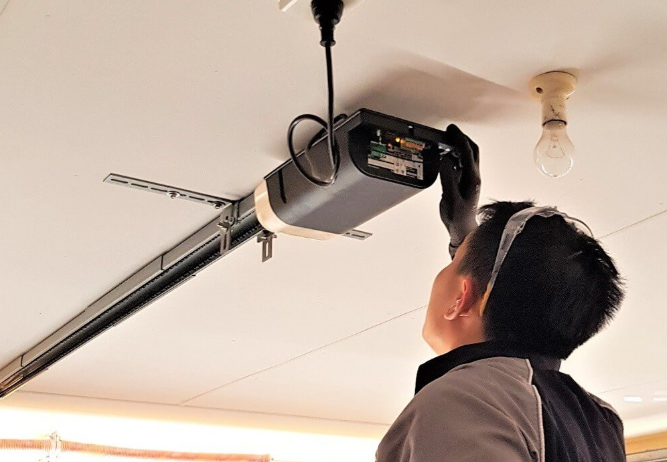
Find the LEARN Button on Your LiftMaster Opener
To reprogram a remote, you usually need the LEARN button on the motor unit (the box mounted on the ceiling). The location varies slightly by model, but most are easy to find.
Common spots:
- Behind the light cover
- On the back panel
- On the side panel
- Near the antenna wire
The LEARN button often has a small LED near it. The button itself may be a different color depending on the model series. You do not have to match the color to complete basic programming, but the color can matter if you are trying to use a very old remote with a much newer opener.
If you cannot locate the LEARN button, check the opener housing for a small panel or lens cover that flips open. Many LiftMaster units hide the button in that area.
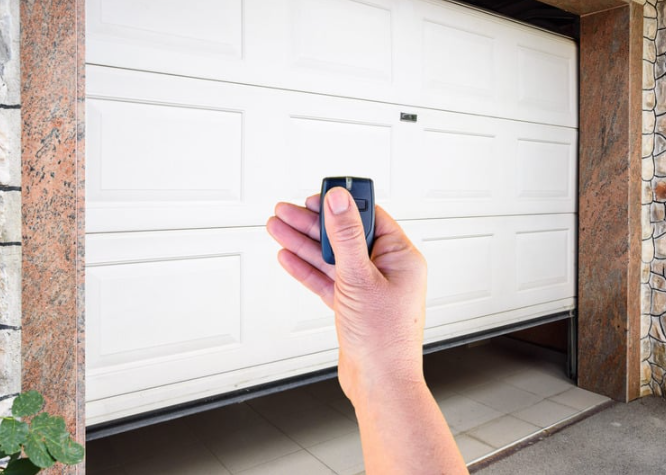
How to Reprogram a LiftMaster Remote After a Reset
Once your LiftMaster garage door opener has been reset, it is ready to pair devices again. You will program each remote one at a time. Do not rush the steps. Most failures happen because the LEARN window times out before the remote button is pressed.
Follow these steps:
- Press LEARN once
- LED turns on
- Press the remote button
- Hold 1 to 2 seconds
- Release and wait
- Watch for click/light
- Test the remote
What you may see: the opener light flashes, the LED near the LEARN button blinks, or you hear a soft click. That is the opener confirming that it accepted the remote signal.
Now test the remote from inside the garage first. If it works, step outside and test the normal range from the driveway.
If you have more than one remote, repeat the same steps for each remote.
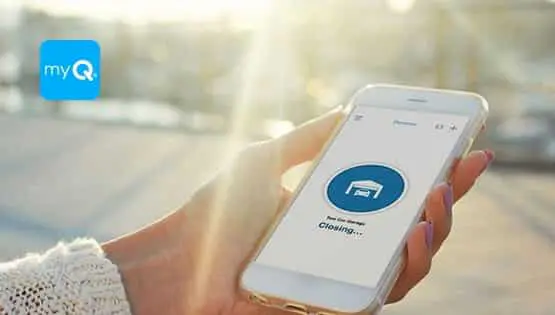
If myQ stopped working after a reset, it may need to be reconnected separately, and you can read How to Reconnect LiftMaster myQ After a Reset?.
How to Program a Multi-Button LiftMaster Remote
Some remotes have multiple buttons so you can control more than one door or device. Programming is the same process, but you need to choose which button you want to control the door.
Steps:
- Choose one button
- Press LEARN once
- Press the chosen button
- Confirm click/light
- Test that button
Helpful tip: if the remote has multiple buttons, place a small label or note on which button controls which door. That prevents confusion later, especially if you have more than one garage bay.
If you accidentally program the wrong button, repeat the steps using the correct button to pair it instead. You do not need to reset the garage door opener again just because one button was paired incorrectly.
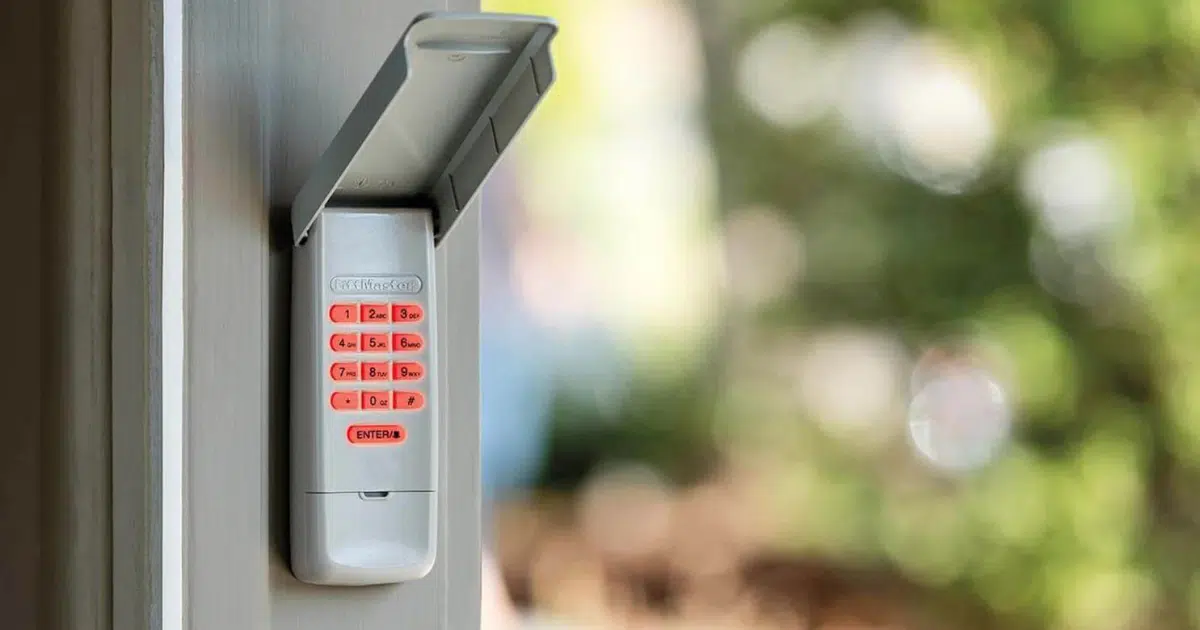
How to Program a LiftMaster Remote Using the Wall Control
Some LiftMaster wall controls support device programming through the wall panel menu. This depends on your wall control model. If you have a wall control with a screen, you might see menu options related to devices.
Common menu names:
- Program remote
- Learn devices
- Remote setup
- Add device
If you see these options, follow the prompts and press the remote button when the wall control tells you to. If your wall control is a simple doorbell-style button with no screen, the LEARN button method is the correct route.
Even when wall control programming exists, the LEARN button method is still the most universal and easiest for most homeowners to follow.
LiftMaster also documents door-control programming for supported panels in its official remote-programming guide.
Program the Remote First, Then Check Door Behavior
After the remote is programmed, do a quick test sequence. This helps you confirm the opener is responding correctly and the door is moving safely.
Test like this:
- Open fully once
- Close fully once
- Watch sensor lights
- Confirm smooth motion
- Confirm no reversing
If the door reverses, that does not mean programming failed. It means the remote successfully activated the opener, but the opener is stopping for a safety reason.
For broader safety guidance on automatic garage door openers and reversal behavior, the Door and Access Systems Manufacturers Association (DASMA) provides homeowner safety recommendations.
If the door reverses while closing, the top suspects are:
- Sensors misaligned
- Beam blocked
- Dirty sensor lens
- Travel setting issue
- Door resistance
If your LiftMaster garage door opener is still “not working” after programming, read Why Is a LiftMaster Garage Door Opener Not Working?.
If Reprogramming Does Not Work, Try These Fixes
If the remote will not pair, do not assume the opener is bad right away. Most pairing failures come from a few predictable issues.
Replace the Remote Battery
A weak battery can still light the remote LED but send a poor signal. Signal strength matters during pairing.
Try:
- Install a new battery
- Pair again close
- Test normal range
If the remote works only when close, battery and interference become more likely.
Turn Off Lock Mode
Lock mode can make it seem like the opener is ignoring remotes, even when the remote is paired.
Clues:
- The wall button works
- Remotes do nothing
- Keypad does nothing
To disable lock mode, hold the lock button on the wall control for several seconds (timing varies). Then test the remote again.
Check the Antenna
The opener antenna should hang down from the motor unit. If it is tucked up, wrapped around something, or damaged, the opener may struggle to receive remote signals.
Confirm:
- Antenna hanging down
- Not cut or pinched
- Not wrapped tightly
- Not stuffed upward
A damaged antenna can reduce range dramatically.
Remove LED Bulb Interference
This is one of the most overlooked causes of remote problems. Some LED bulbs can create radio interference that blocks remote signals. If your remote range dropped after changing the bulb, this is a strong clue.
Try:
- Remove the bulb temporarily
- Pair again and test
- Swap to a different bulb
If the range improves when the bulb is removed, interference is likely.
Stand in the Right Spot While Pairing
Pairing works best when you are close to the motor unit. If you press LEARN and then walk away, the time window may expire.
Better approach:
- Stand under the opener
- Press LEARN once
- Press the remote quickly
- Watch for confirm light
Confirm You Are Not Pressing the Wrong Button
This happens with multi-button remotes and universal remotes. Make sure you are pressing the same button each time.
- Choose one button
- Pair that button
- Test that button only
Clear the Opener Memory and Program Cleanly
If you are unsure which remotes are stored, or you have old remotes you want removed, clearing memory can be the cleanest approach. This is also useful if you bought a used home or lost a remote.
Steps:
- Hold LEARN button
- Keep holding until the light changes
- Release and test
- Reprogram remotes
Car Remote Programming and HomeLink Notes
Many vehicles have built-in buttons in the visor or overhead console (often HomeLink). These can be paired to your LiftMaster garage door opener, too, but the steps vary by vehicle.
In general:
- Clear car button memory
- Press LEARN onthe opener
- Press the car button
- Watch for confirmation
Some vehicles require a second step involving the car’s menu or holding the button longer.
If the car remote will not pair, it is often because:
- The vehicle system needs to be reset
- Opener compatibility issue
- Timing window missed
- Weak car battery signal
We can help troubleshoot if the vehicle pairing is frustrating, especially after you reset the opener.
After Programming, Improve Reliability and Range
Once you have the remote working again, it is worth doing a few small improvements that can prevent future issues, especially in San Antonio, TX, where heat and dust can affect garage electronics.
These steps help stabilize performance:
- Clean sensor lenses
- Check antenna hanging
- Replacethe remote battery yearly
- Avoid interference bulbs
- Keep the opener vents clear
If the opener works sometimes but not others, it can be a sign of interference or a door system that is straining the opener. In that case, programming might be successful, but the door still may not run smoothly.
When Remote Problems Point to a Bigger Issue
Sometimes the remote pairs correctly, but the door still does not run right. That suggests the remote is not the main problem. Look at door movement and opener response.
Clues it is not the remote:
- Wall button inconsistent
- Door reverses often
- Opener strains loudly
- The door feels heavy
- Grinding or jerking
In these cases, LiftMaster garage door opener repair may be needed to restore safe movement. If the opener is older and repeatedly failing or losing programming, LiftMaster garage door opener installation may be the better long-term step.
Get Your Remote Working Again Today
After a reset, pairing your remote back to the LiftMaster garage door opener is usually quick once you confirm power, lock mode, battery strength, and antenna position. If programming still fails, the cause is often interference, a weak signal path, or a deeper opener issue that needs professional attention.
Mojo Garage Door Service helps homeowners across San Antonio, TX restore dependable control with remote programming support, LiftMaster garage door opener repair when performance issues go beyond pairing, and LiftMaster garage door opener installation when replacing the unit is the smarter long-term solution. Contact us or give us a call.
Frequently Asked Questions
Why does myQ say offline, but the remote still works?
That usually means the opener is fine and the issue is Wi-Fi signal, router settings, or app pairing.
Does myQ work on 5 GHz Wi-Fi?
Many openers connect best on 2.4 GHz. If your router combines both bands under one name, we may need to connect through 2.4 GHz during setup.
What if myQ connects but keeps dropping offline?
That often points to a weak Wi-Fi signal in the garage. Strengthening coverage near the opener typically improves reliability.
Can we reconnect myQ without deleting the device?
Sometimes yes, but if the app keeps holding the old setup profile, deleting and adding again can be faster.
Should we restart the router before reconnecting?
Yes. Restarting the router can clear glitches and make reconnecting smoother.
What if the app will not find the opener?
We check setup mode timing, app permissions, Wi-Fi band, and signal strength. Any one of these can block discovery.
Does a power outage cause myQ to disconnect?
It can. Power flickers can reboot the router or opener in an unstable way, which can require a reconnect.
Will remote programming affect myQ?
Not directly. Remote pairing and myQ pairing are separate, but after a full reset, you may need to do both.
When should we reach out for help?
If reconnect steps fail repeatedly, or the opener itself is inconsistent, we can troubleshoot on-site and restore reliable operation.